Usage
Before we get started learning how to use the methods provided by Facelift Package, we
have some basic terminology to define.
The types module provides these following types/terms which we use
throughout the package.
We use these terms though most of our documentation, so make sure you take a peek at the
responsibility of these names.
- Defines a single matrix of pixels representing an image (or a single frame).These frames are pulled out of some media or stream and is used as the source content to try and detect faces from.
- Describes an (x, y) coordinate relative to a specific frame.
- Describes a sequence of points that typically define a feature.
- An enum of available face features to detect (such as an eye or the nose).Represented by a
PointSequence. - Defines a detected face containing the landmarks and bounding frame of the face.Represented by a custom
dataclasses.dataclass()using a dictionary ofFaceFeaturetoPointSequenceto describe the detected face features. - Describes an encoded face frame that can later be used to recognize the same face.
Reading Frames
Likely you already have some kind of content you want to detect faces from.
Whether that be a picture, a video, or your webcam, we need to be able to capture the
frames from that media so we can use them for processing.
These content types that we typically want to extract frames from are defined in
MediaType.
-
class
facelift.types.MediaType(value)[source] Enumeration of acceptable media types for processing.
-
IMAGE Defines media that contains just a single frame to process.
-
VIDEO Defines media that contains a known number of frames to process.
-
STREAM Defines media that contains an unknown number of frames to process.
-
If processing a media file (such as an image or a video) these media types are
automatically discovered from some magic methods available in the magic module.
There, we attempt to make a best guess at what type of content you are attempting to
capture frames from.
>>> from facelift.types import MediaType
>>> from facelift.magic import get_media_type
>>> media_type = get_media_type(Path("~/my-video.mp4"))
>>> assert media_type == MediaType.VIDEO
Actually opening and reading frames from content is typically performed using a mix of
_ functions that use completel different syntax for each of these types of media.
For most all use cases we really shouldn’t care about the differences of how
OpenCV opens, processes, and closes media.
So we reduced the mental overhead of this process a bit and namespaced it within the
capture module.
This module’s overall purpose is to effeciently encapsulate the OpenCV calls necessary to capture the frames from the given media.
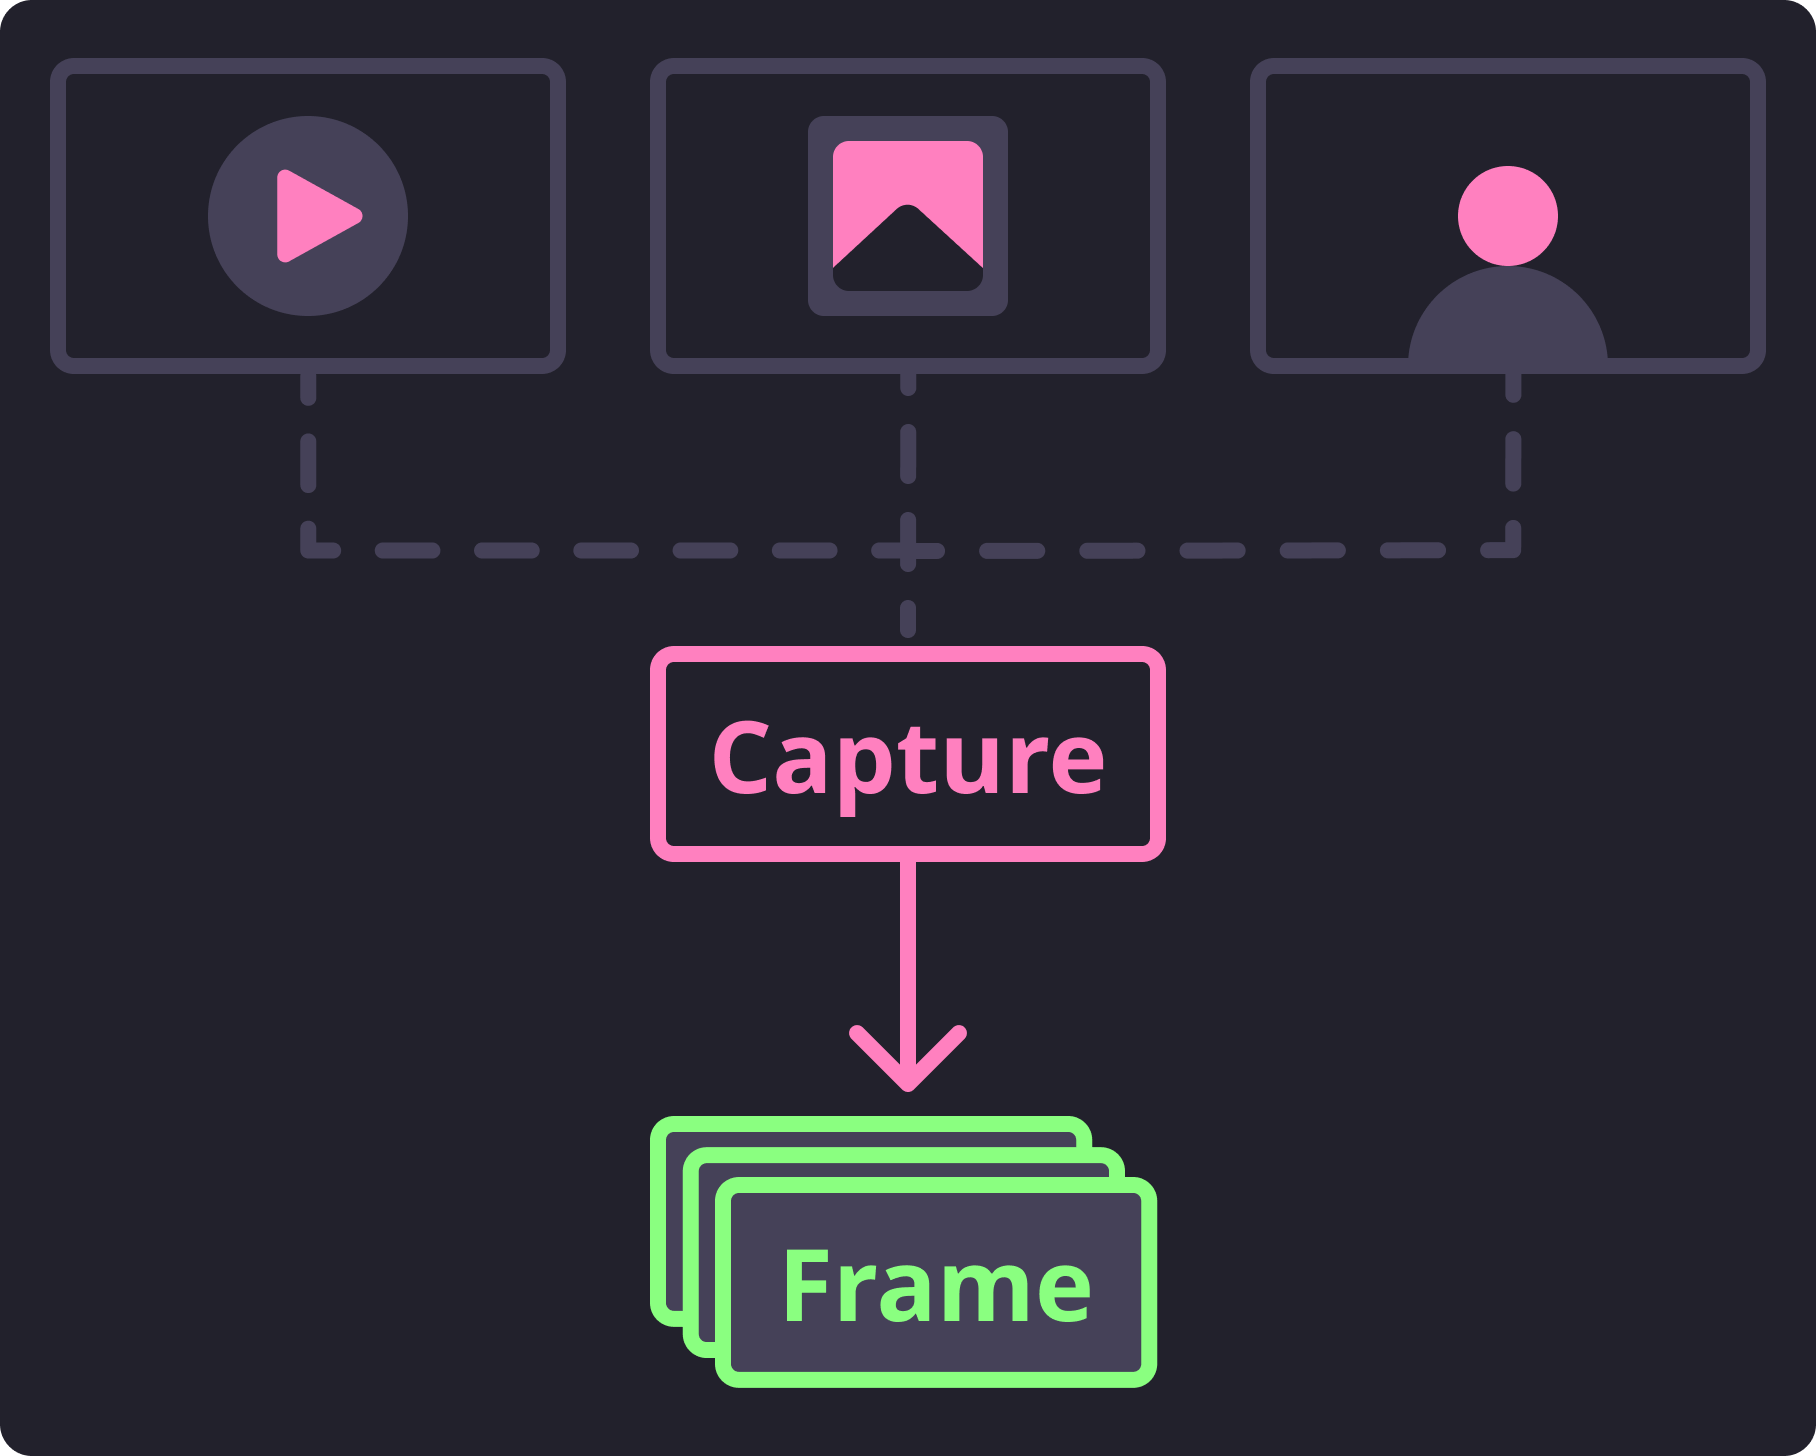
Basic Capture Flow
To do this we have exposed separate generator functions. One for handling written media files, and another for handling streamed frames. We made the decision to keep these generators separate as they have distinct features that would make a single generator function less explicit and intuitive.
Capturing Media Frames
To read frames from existing media files (either images or videos) you can utilize the
iter_media_frames() generator to extract sequential frames.
This function takes a pathlib.Path instance and will build the appropriate
generator to capture and iterate over the available frames one at a time.
1 2 3 4 5 | from facelift.capture import iter_media_frames
from facelift.types import Frame
for frame in iter_media_frames(Path("~/my-video.mp4")):
assert isinstance(frame, Frame)
|
If you would like to loop over the available frames, the loop boolean flag can be
set to True.
This flag will seek to the starting frame automatically once all frames have been read
essentially restarting the generator.
This means that you will need to break out of the generator yourself as it will produce
an infinite loop.
1 2 | for frame in iter_media_frames(Path("~/my-video.mp4"), loop=True):
assert isinstance(frame, Frame)
|
Capturing Stream Frames
To read frames from a stream (such as a webcam) you can utilize the very similar
iter_stream_frames() generator to extract the streaming frames.
This function will scan for the first available active webcam to stream frames from.
1 2 3 4 5 | from facelift.capture import iter_stream_frames
from facelift.types import Frame
for frame in iter_stream_frames():
assert isinstance(frame, Frame)
|
If you happen to have 2 webcams available, you can pick what webcam to stream frames
from by using the indexes (0-99).
For example, if you wanted to stream frames from the second available webcam,
simply pass in index 1 to the generator:
1 2 | for frame in iter_stream_frames(1):
assert isinstance(frame, Frame)
|
Important
When capturing streamed frames, this generator will not stop until the device stream is halted. Typically, when processing stream frames, you should build in a mechanism to break out of the capture loop when desireable.
In most of the below examples I will simply be raising KeyboardInterrupt to
break out of this loop.
You will likely want to add some kind of break conditional to this loop in your usage.
Rendering Frames
Now that we are reading frames in, we probably want to be able to preview what is going to be processed. OpenCV provides a semi-decent window utility that we take advantage of for our basic frame preview. If you want to display these frames in a more production-level application, I would recommend looking into using a canvas powered by OpenGL instead of relying on the hacky and inflexible solution provided by OpenCV.
It is not within the scope of this project to provide an optimal canvas for displaying the frames read in through OpenCV. There are likely other projects out there that can display frames (numpy pixel arrays) or a transformed variant of this frame while taking advantage of the GPU.
Regardless, for our use cases we only want to be able to quickly and cheaply preview
the frames we are processing.
To help with this, we provide a opencv_window context manager that
will create a temporary window that can be used for rendering these captured frames.
1 2 3 4 5 6 | from facelift.capture import iter_media_frames
from facelift.window import opencv_window
with opencv_window() as window:
for frame in iter_stream_frames():
window.render(frame)
|
Here is a quick screen capture running the above example.
Note that since this window helper is a context manager, the window will destroy itself
once there are no more frames to process and we break out of the frame generator.
In the above example, I am simply raising a KeyboardInterrupt by pressing
Ctrl+C, but you can be much more clever about it in your usage.
Customization
There are several available options that allow you to slightly tweak the created window. The options are fairly limited as we are just forwarding the desired tweaks to the creation of the window in OpenCV. Don’t expect much in terms of flexibility of customization for these windows.
Window Title
title to the context manager:1 2 | with opencv_window(title="My Window") as window:
...
|
This title will be used to also destroy the window as OpenCV naively destroys windows
based on window titles.
This isn’t such a big issue as OpenCV (and in turn the opencv_window
manager) doesn’t allow mutation of a window title once the window is opened.
Window Style
OpenCV windows have several different style features they can pick and choose from.
These features are defined in the WindowStyle object and can be joined
together with the boolean | and passed through to the style parameter.
1 2 3 4 | from facelift.window import opencv_window, WindowStyle
with opencv_window(style=WindowStyle.GUI_EXPANDED | WindowStyle.KEEP_RATIO) as window:
...
|
By default the window will use the DEFAULT window style
which is a combination of some of other available window styles.
If you actually need to use a custom window style, I encourage that you play around with
these options yourself to see what works best for you.
Display Delay
The delay at which OpenCV attempts to render frames is another feature that can be controlled. This is fairly useful when you want to slow down the frames being rendered in the window rather than the speed at which frames are being read. This delay is defined in milliseconds as an integer and is defaulted to 1.
1 2 3 4 5 6 | from facelift.capture import iter_stream_frames
from facelift.window import opencv_window
with opencv_window(delay=1000) as window: # wait 1 second between displaying frames
for frame in iter_stream_frames():
window.render(frame)
|
Note that you can also handle do this yourself with a simple time.sleep() prior or
post a render() call.
That solution may be a better path forward if you are running into issues with the
delay parameter.
Warning
This delay must be greater than 0.
We have a validation step in the creation of the window to ensure that it is not
initialized to 0.
However, you can still get around this initial check by setting delay on the
created window context instance.
For example, you can technically do the following:
>>> from facelift.window import opencv_window
>>> with opencv_window(delay=1) as window:
... window.delay = 0
This will very likely break the frame rendering as OpenCV will enter a waiting state with no refresh interval when the window delay is set to 0.
Display Step
Sometimes you want to pause on each frame to essentially prompt for user interaction when rendering frames. This feature is particularly useful when attempting to render single frames (such as those from images) as the generator will immediately exit and could exit the window context manager which will destroy the window.
For example, the following sample will immediately create a window and then quickly
close it as the iter_media_frames() generator will immediately read the
image and immediately exit the window’s context manager:
1 2 3 | with opencv_window() as window:
for frame in iter_media_frames(Path("~/my-image.jpeg")):
window.render(frame)
|
If you would like to force the window to await user input to render the next frame
every time render() is called, you can use the step and
step_key arguments.
1 2 | with opencv_window(step=True, step_key=0x20) as window:
...
|
In the above example, since we have enabled step and defined the step key to be
0x20, our window will wait for the user to press [Space] (ASCII 36 or 0x20) before
rendering the next frame.
Transforming Frames
Before we get to actually detecting faces, it would benefit us to know what kind of bottlenecks we will hit and how we can avoid or reduce them.
The obvious bottleneck any kind of object detection is that the more pixels you have to
process, the longer object detection takes.
To reduce this we typically want to scale down large frames so that we don’t waste so
much time looking through all the available pixels.
This scaling operation is provided as a transformation function
scale().
1 2 3 4 5 6 7 | from facelift.capture import iter_stream_frames
from facelift.transform import scale
for frame in iter_stream_frames():
assert frame.shape[0] == 128
frame = scale(frame, 0.5)
assert frame.shape[0] == 64
|
By scaling down the frame to a more reasonable size, feature detection will be able to
perform much quicker as we have less pixels to run through.
This is just one example of how we can reduce bottlenecks to benefit feature detection.
However, there are many more transformations that we might need to do to benefit
dlib’s frontal face detector.
For example, what if we are processing a video shot in portrait but we are reading in
frames in landscape?
We will probably need to rotate the frame to be in portrait mode so that the faces we
are trying to detect are positioned top-down in the frame instead of left-right.
We can also do this using a provided transformation rotate().
Let’s say we want to rotate these frames -90 degrees:
1 2 3 4 5 | from facelift.capture import iter_stream_frames
from facelift.transform import rotate
for frame in iter_stream_frames():
frame = rotate(frame, -90)
|
For a full list of the available transformations we supply, I recommend you look
through the transform module’s auto-built documentation.
The goal of this module is to provide the basic transformations that you may need to optimize face detection using our methods. You may run into a use case where you need something we do not provide in this module. In this case, you likely can find what you need already built into OpenCV.
Chaining Transforms
Most of the time you will end up with several necessary transformations to get the frame in a position that is optimal for face detection. In these cases, it’s fairly straightforward to compose multiple transforms together through the following type of composition:
1 2 3 4 5 6 7 8 | from facelift.capture import iter_stream_frames
from facelift.transform import scale, flip, rotate
from facelift.window import opencv_window
with opencv_window() as window:
for frame in iter_stream_frames():
frame = rotate(flip(scale(frame, 0.35), x_axis=True), 90)
window.render(frame)
|
In this example, we are first scaling down the frame to 35%, flipping the frame on the x-axis, and the rotating it by +90 degrees. Potentially useful for large, inverted media files where faces are aligned left to right rather than top-down. Internally the frame is going through each transformation just as you would expect.
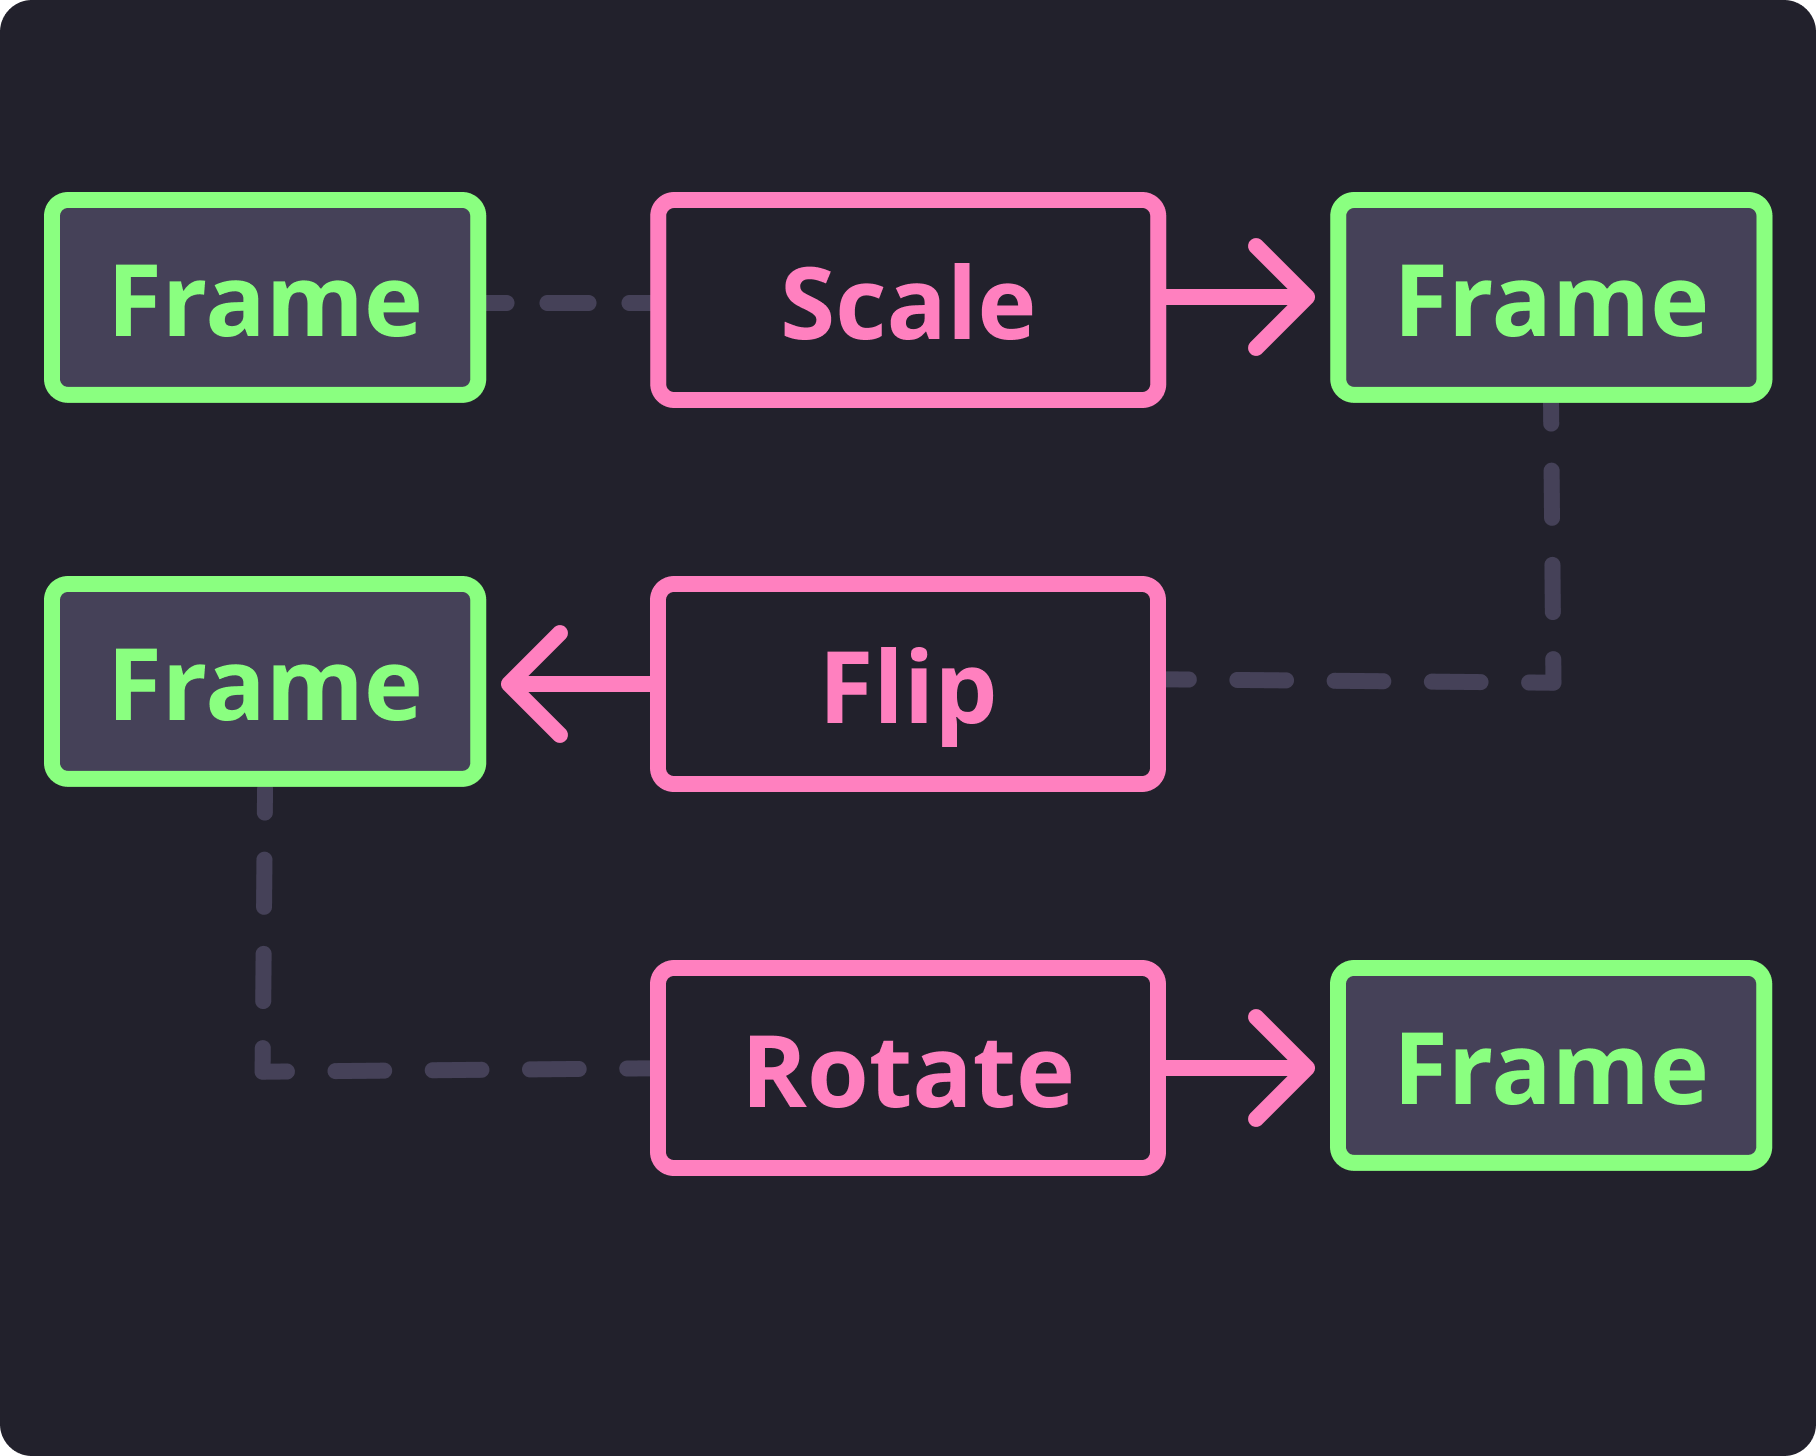
Sample Transform Flow
This was just a quick overview of the concept of transforming frames before we attempt to detect face features. We will see more explicitly how transformations benefit feature detection in the next section.
Drawing on Frames
We’ve included a few drawing features are just quick and easy to use wrappers for some
of the builtin drawing functionality OpenCV provides by default.
These helper functions are found in the render module.
The original reason we added these drawing helpers in was to make it easier to debug
what is being detected.
As these drawing features are already common to OpenCV, we will give just a quick
overview of what is available in this package.
For a more full description of the available parameters and constants, you should just
read through the render module auto-generated documentation.
Points
Drawing points is really simple.
If you have a single point either as an (x, y) tuple or a Point
that you want to render you can use draw_point().
1 2 3 | from facelift.render import draw_point
frame = numpy.zeros((512, 512, 3))
frame = draw_point(frame, (64, 64), size=4)
|
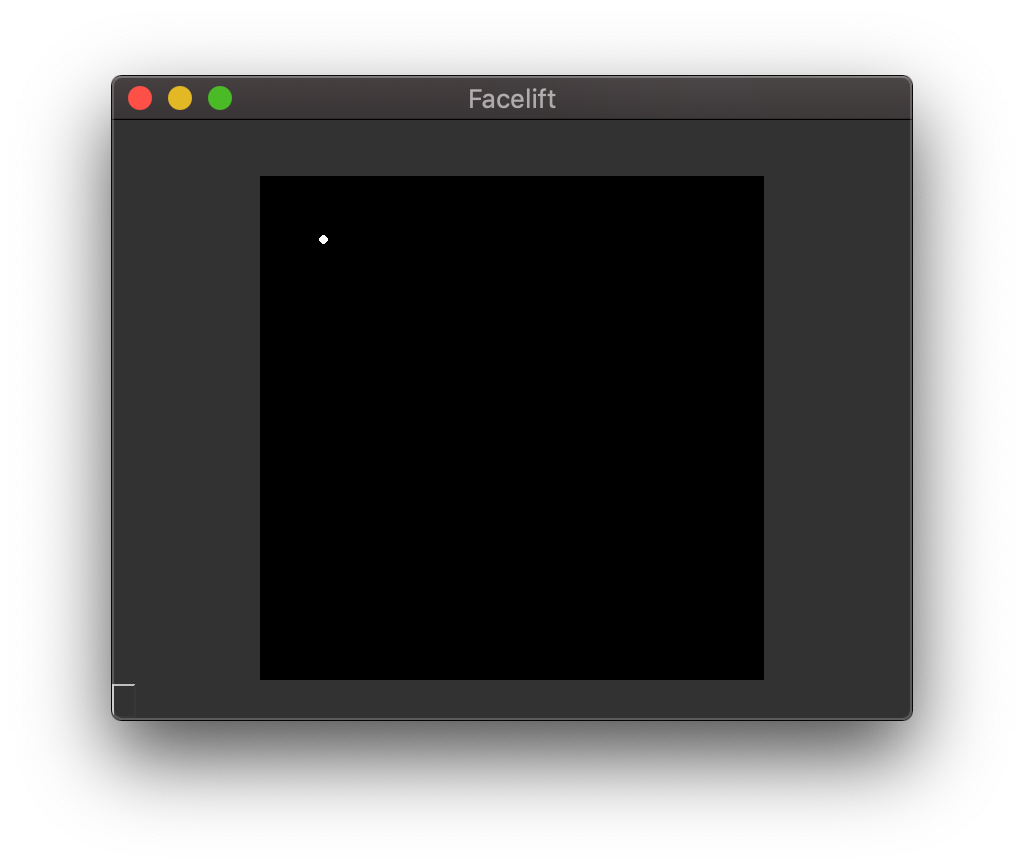
Drawing a single point
We also provide a shorthand function for rendering either a list of (x, y) tuples or
an PointSequence called draw_points().
1 2 3 | from facelift.render import draw_points
frame = numpy.zeros((512, 512, 3))
frame = draw_point(frame, [(64, 64), (128, 128), (256, 256)], size=4)
|

Drawing multiple points
Lines
If you have a list of (x, y) tuples or an PointSequence and you wish
to draw a connected line between the points, you can use the draw_line()
function.
1 2 3 | from facelift.render import draw_line
frame = numpy.zeros((512, 512, 3))
frame = draw_line(frame, [(64, 64), (128, 128), (256, 256)], thickness=4)
|
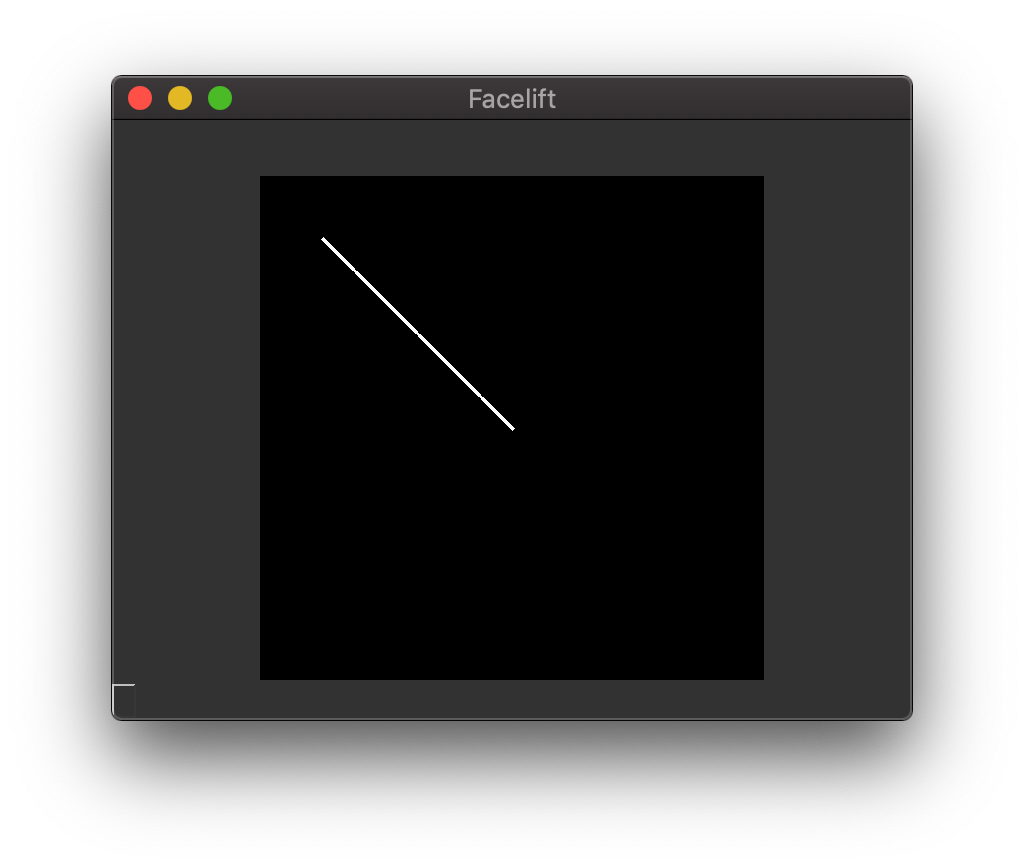
Drawing a line
Shapes
Instead of having to use a combination of just points and lines to draw everything, we have a few other functions that provide basic shape drawing. These are still mostly all just wrappers around the default functionality that OpenCV provides.
Rectangles
Drawing rectangles is as simple as providing top-left and bottom-right points to draw the rectangle between.
1 2 3 | from facelift.render import draw_points
frame = numpy.zeros((512, 512, 3))
frame = draw_point(frame, (64, 64), (256, 256), thickness=2)
|

Drawing a rectangle
Circles
Circles are just points with a non-negative thickness.
So to draw a circle we can utilize the included draw_point() and supply
at-least a thickness of 0.
1 2 3 | from facelift.render import draw_point
frame = numpy.zeros((512, 512, 3))
frame = draw_point(frame, (64, 64), size=32, thickness=0)
|
You will probably also want to adjust the size of the point as a small enough point
will always appear filled rather than as a circle.

Drawing a circle
Contours
If you want to use an PointSequence as the outline for a shape, you can
use the draw_contour() function.
1 2 3 | from facelift.render import draw_contour
frame = numpy.zeros((512, 512, 3))
frame = draw_contour(frame, [(64, 64), (128, 128), (256, 256), (64, 256)])
|
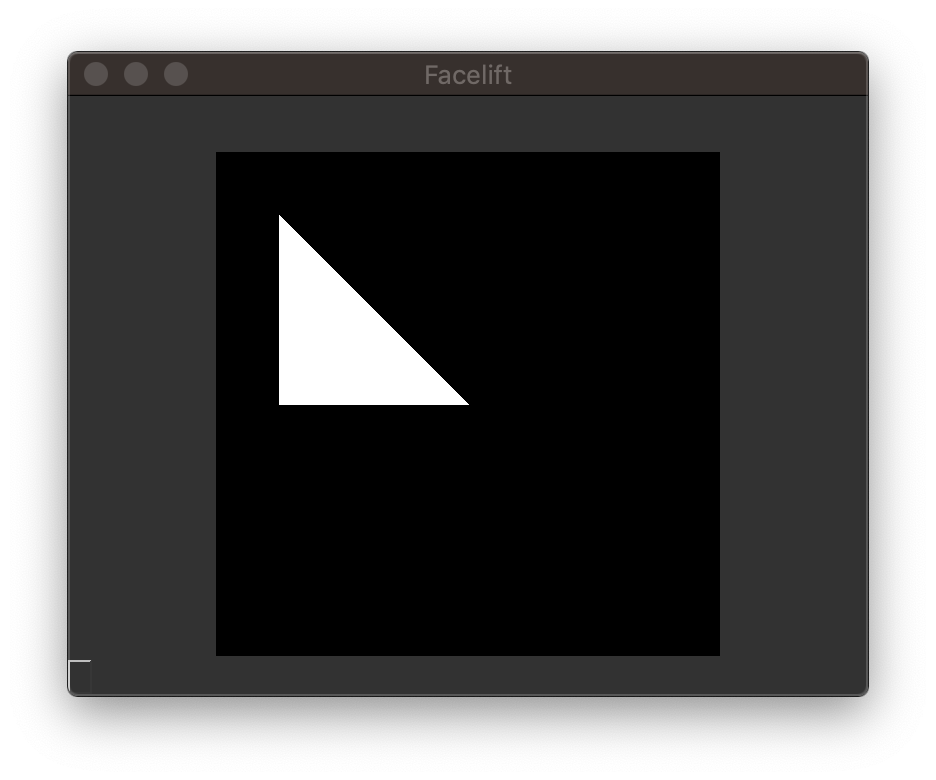
Drawing a triangle
Text
Drawing text is a bit more complicated than the other helper functions.
Rather than have to do some messy calls to determine width and height of specific fonts
to render text in the appropriate location, we handle drawing text by first defining a
bounding box for the text to be positioned in.
Since it is much easier to place a rectangle, drawing text within that rectangle’s
bounds is much easier in turn.
This is all handled by the draw_text() function.
In the below examples, we are drawing a red rectangle to visualize where the text lives
within the defined text container.
The defined container from the call to draw_text() will be invisible.
1 2 3 4 | from facelift.render import draw_rectangle, draw_text
frame = numpy.zeros((512, 512, 3))
frame = draw_rectangle(frame, (64, 64), (448, 256), color=(0, 0, 255))
frame = draw_text(frame, "Hello, World!", (64, 64), (448, 256))
|

Default aligned text
You can utilize the Position enumeration to position the text within
this bounding box.
For example, if we wanted to center the text we can set both the x_position and
y_position to CENTER.
1 2 3 4 5 6 7 8 9 10 | from facelift.render import draw_rectangle, draw_text, Position
frame = numpy.zeros((512, 512, 3))
draw_rectangle(frame, (64, 64), (448, 256), color=(0, 0, 255))
frame = draw_text(
frame,
"Hello, World!",
(64, 64), (448, 256),
x_position=Position.CENTER,
y_position=Position.CENTER
)
|
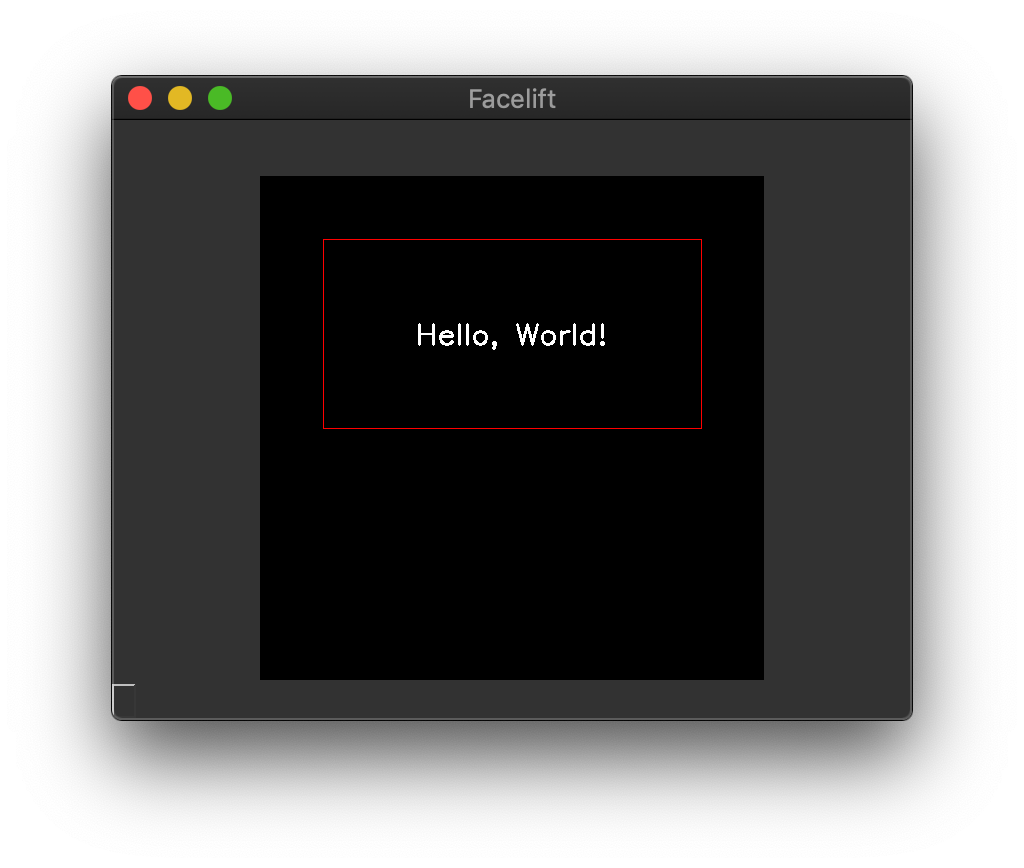
Center aligned text
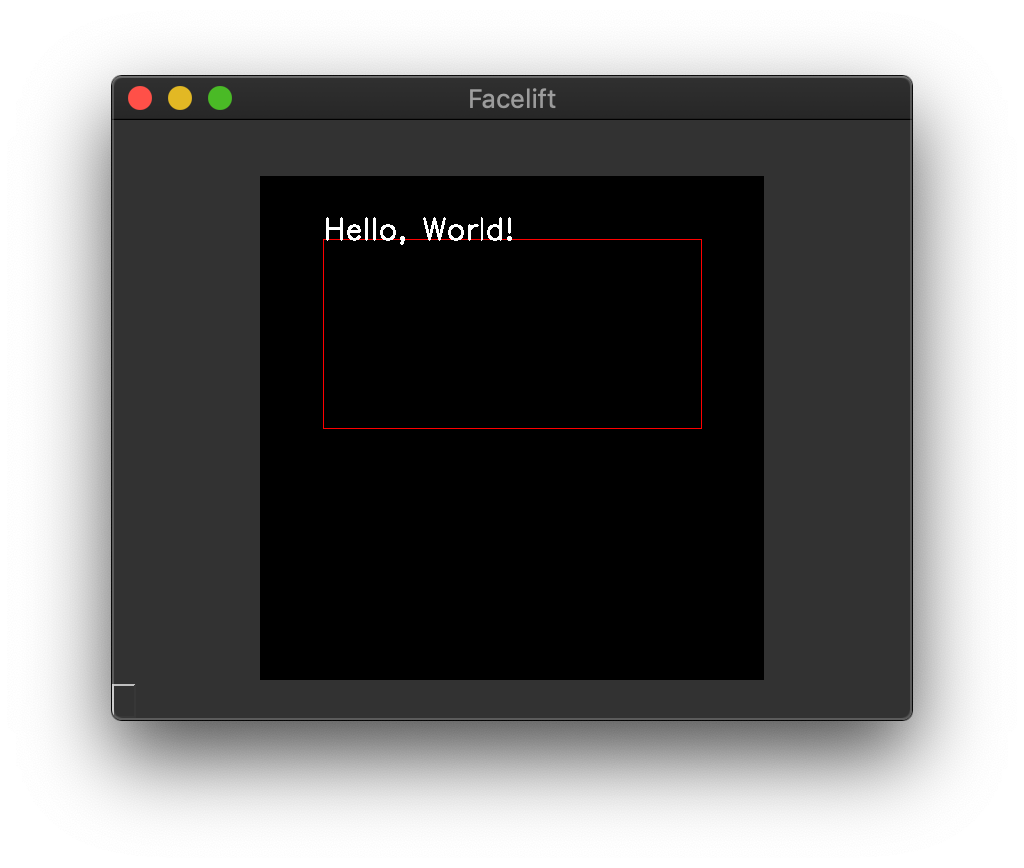
Similarly you can set both to END to place the text at the
lower left corner of the text container.
1 2 3 4 5 6 7 8 9 10 | from facelift.render import draw_rectangle, draw_text, Position
frame = numpy.zeros((512, 512, 3))
draw_rectangle(frame, (64, 64), (448, 256), color=(0, 0, 255))
frame = draw_text(
frame,
"Hello, World!",
(64, 64), (448, 256),
x_position=Position.END,
y_position=Position.END
)
|

End aligned text
Container Overflow
If you don’t actually want to utilize the bounding box as a container, and instead want
to use it as basically just a big reference to start OpenCV’s default text drawing, you
can set allow_overflow to True.
Default aligned text with allow_overflow=True
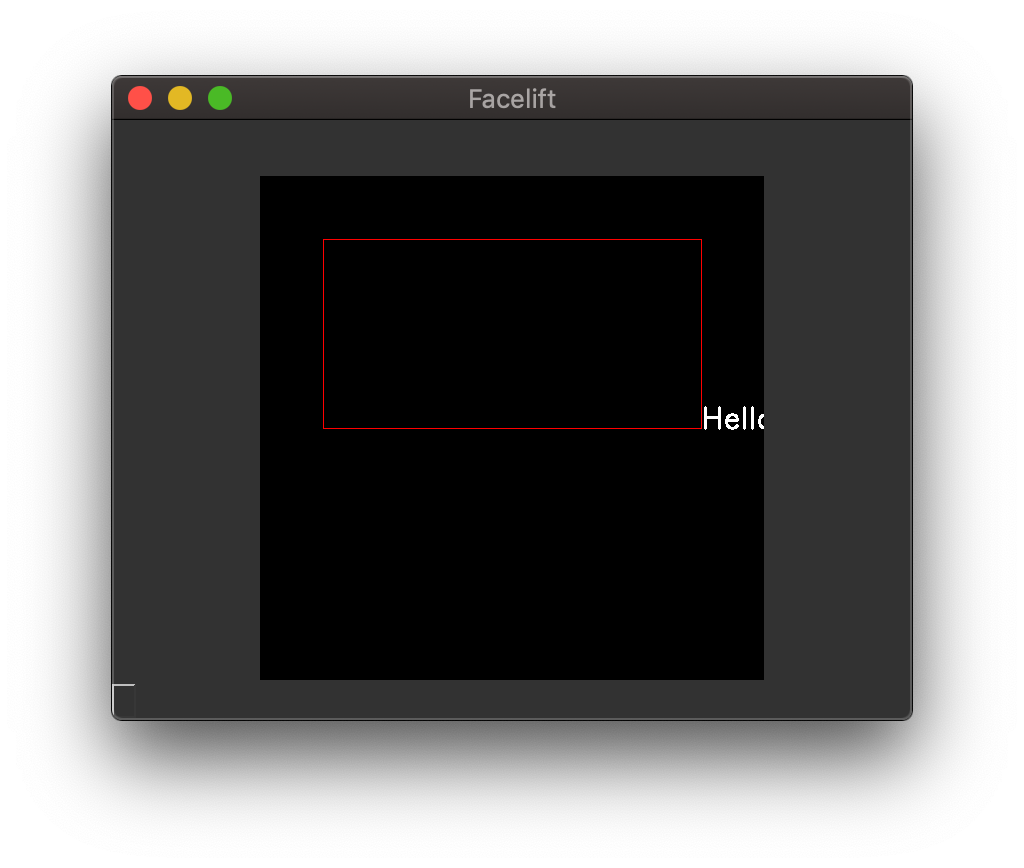
End aligned text with allow_overflow=True
Warning
We are not being clever enough here to handle any kind of text wrapping for the bounding container that you define. This container is really only used to determine where to start drawing your text rather than keeping it all within a box.
If your text size is larger than the defined bounding container, it will overflow (likely on the x-axis).
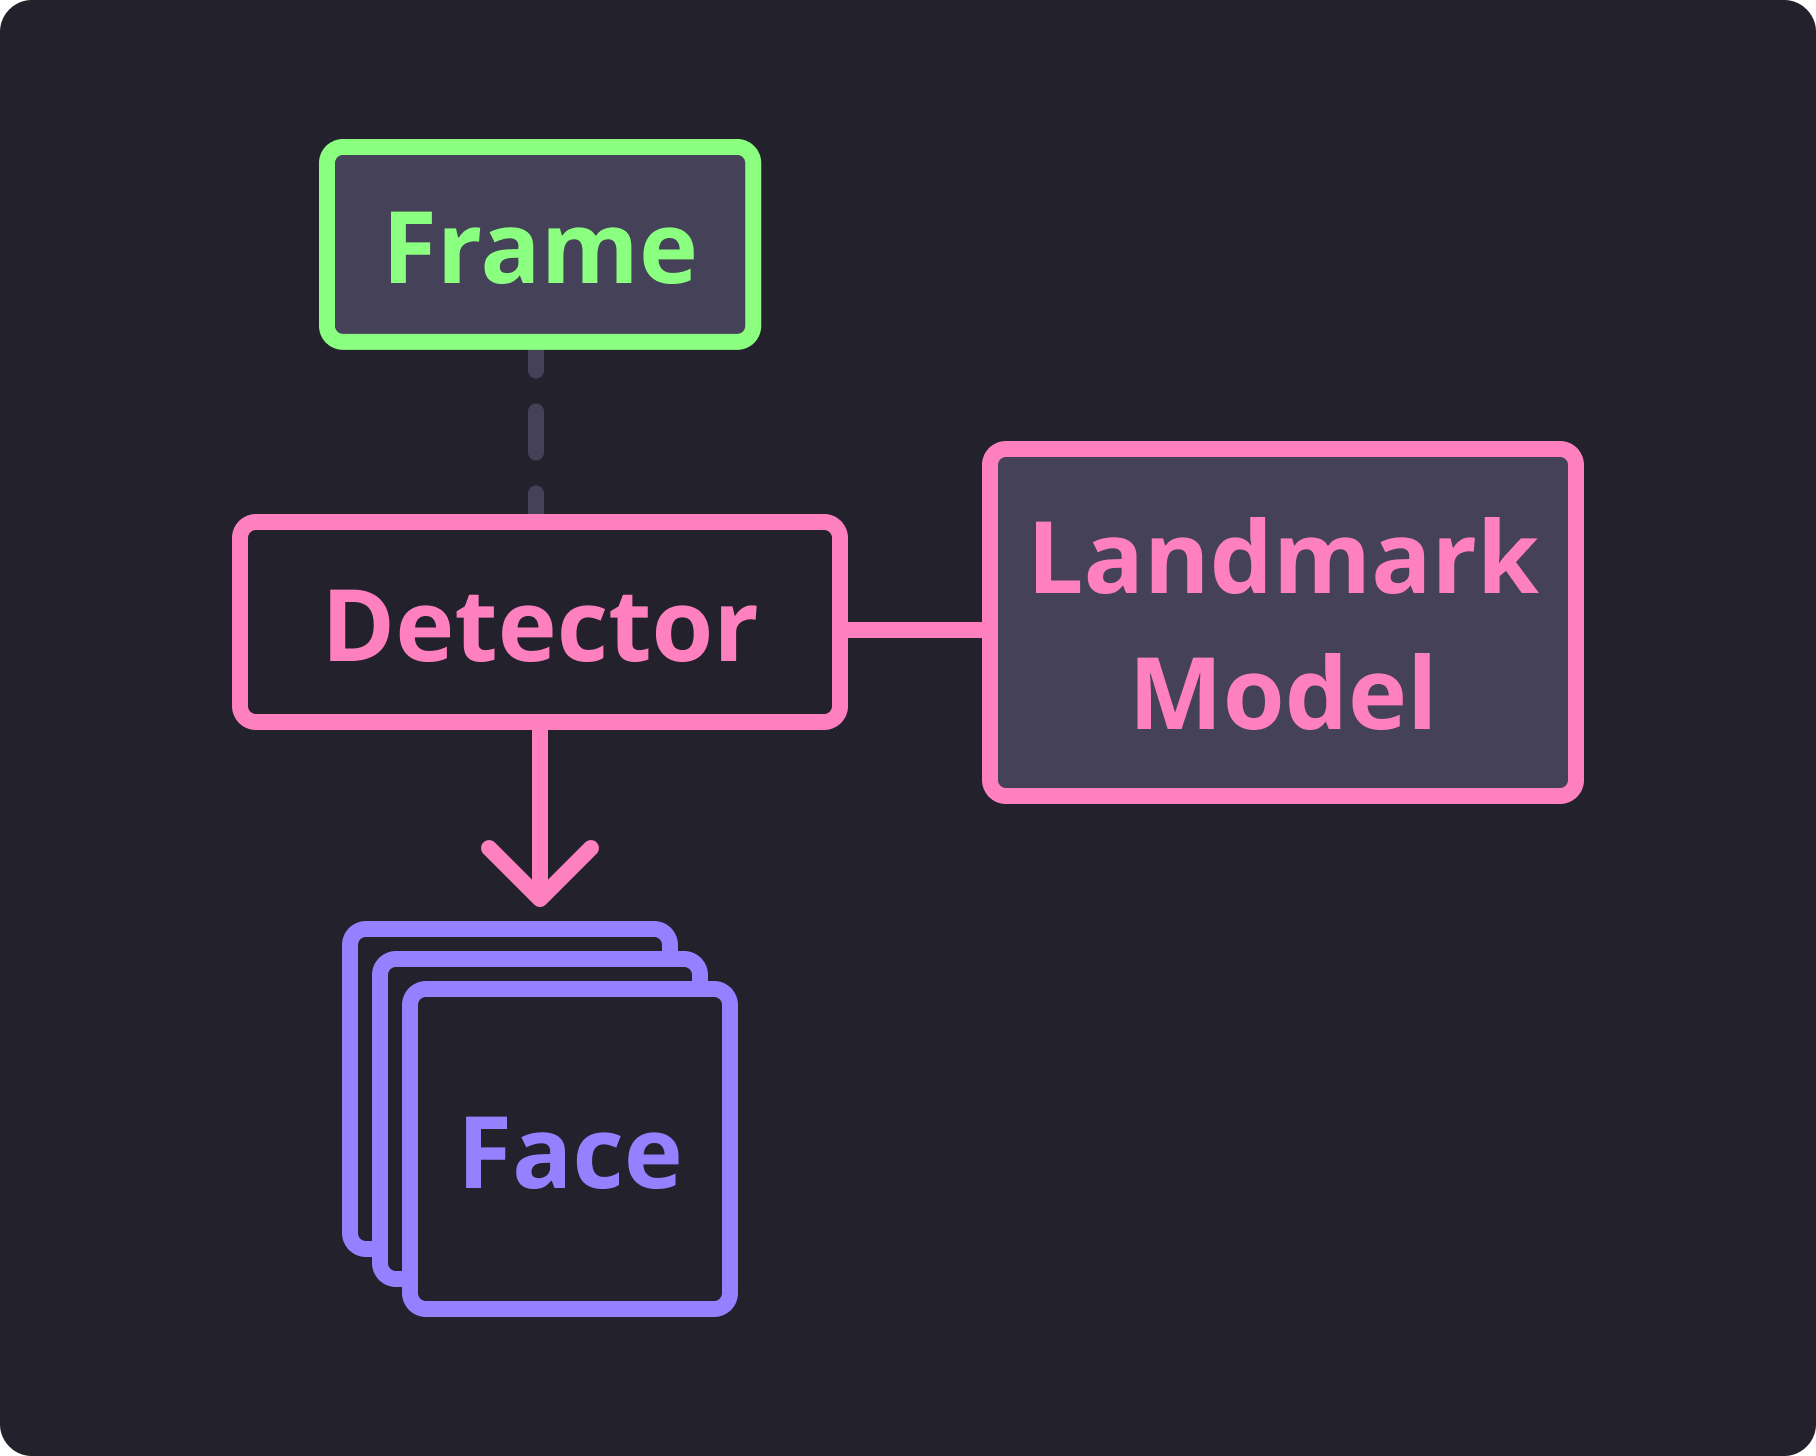
Detecting Faces
Now onto the fun part. Face feature detection is powered by good ol’ dlib. As part of this package, we have provided 3 pre-trained landmark models for face features each detecting various different face landmarks.
Tip
To learn how to acquire these models, please see the Model Installation documentation.
The face features (interchangeably termed landmarks) we are able to detect are
classified in the FaceFeature enumeration.
The landmark models are programmatically provided through the following
BaseLandmarkDetector subclasses:
Although each of these detectors operates essentially the same way, they produce different results and have various caveats that you would benefit from knowing. We will be covering the ins and outs of each of these detectors in the following related sections.
But first, a few helpful details on how subclasses of
BaseLandmarkDetector work.
Each subclass will contain a reference to a file location where the trained landmark
model exists.
Upon instantiation of the subclass, that model will be open and read into memory
which can take longer than a second in some cases (given the size of the model).
1 2 3 | from facelift.detect import BasicFaceDetector
BasicFaceDetector.model_filepath # filepath to the related trained landmark model
detector = BasicFaceDetector() # trained model is opened and loaded into memory
|
Each instance of these subclass comes with a helpful little generator that will produce
instances of Face for a given Frame.
This generator is called iter_faces() and will
utilize the loaded model to handle feature detection ✨ automagically ✨.
1 2 3 4 5 6 7 8 | from facelift.types import Face
from facelift.capture import iter_stream_frames
from facelift.detect import BasicFaceDetector
detector = BasicFaceDetector()
for frame in iter_stream_frames():
for face in detector.iter_faces(frame):
assert isinstance(face, Face)
|
Each generated face represents a single set of face landmarks detected from the given frame. The accuracy of this detection is wholely the responsibility of the trained model (although you can typically benefit it by transforming the frame into an optimal state before attempting to perform detection).
Detect Flow
If you are finding that the face landmark models we install are not as accurate as you require, you should look further into training your own landmark models for dlib. Note that this is not a trivial task.
Tip
The iter_faces() generator comes with a parameter
called upsample that is defaulted to 0.
If you are having to detect faces from really small frames, setting this
parameter to a positive value will attempt to optimally upsample the frame using
dlib’s builtin utilities.
1 2 3 | for frame in iter_stream_frames():
for face in detector.iter_faces(frame, upsample=2):
assert isinstance(face, Face)
|
Be cautious about using this feature with large frames as it will drastically increase the amount of time that is necessary to detect faces. I would recommend avoiding using this feature when processing multiple frames (either from videos or streams).
Basic Face Detection
The basic face detector is the lightest weight detector and likely should be used for when you need to simply detect faces or recognize faces. Faces detected with this detector contain a single point for three face features:
LEFT_EYE- A single point on the outside of the left eyeRIGHT_EYE- A single point on the outside of the right eyeNOSE- A single point right below the nose
Checkout the following recording of the below script for a better understanding of what points are detected.
1 2 3 4 5 6 7 8 9 10 11 12 13 14 | from facelift.capture import iter_stream_frames
from facelift.detect import BasicFaceDetector
from facelift.window import opencv_window
from facelift.render import draw_points
detector = BasicFaceDetector()
with opencv_window() as window:
for frame in iter_stream_frames():
for face in detector.iter_faces(frame):
for _, points in face.landmarks.items():
# big colorful points so you can see what's going on
frame = draw_points(frame, points, size=3, color=(0, 255, 0))
window.render(frame)
|
Because the features we are detecting are just single points, we really can’t do much to determine a face’s state (such as if eyes are opened or closed). However, we can determine where a face is placed and what angle the face is tilted within the frame. This is particularly helpful as we usually want to extract normalized frames with a properly positioned face for more accurate face recognition.
As an example of this, we have included the helpers module with some examples
of basic face positioning math to extract frames where the face is always centered and
angled correctly.
The helper function that provides this appropriate face positioning functionality is
get_normalized_frame().
You can use it by simply passing both the starting frame and a detected face:
1 2 3 4 5 6 7 8 9 10 11 12 | from facelift.capture import iter_stream_frames
from facelift.detect import BasicFaceDetector
from facelift.window import opencv_window
from facelift.helpers import get_normalized_frame
detector = BasicFaceDetector()
with opencv_window() as window:
for frame in iter_stream_frames():
for face in detector.iter_faces(frame):
frame = get_normalized_frame(frame, face)
window.render(frame)
|
Overall, the BasicFaceDetector is useful for quick face detection
where your only desire is to extract a face from a frame.
Partial Face Detection
The PartialFaceDetector uses the heaviest of the three landmark models
(likely since it was trained the most rigorously of the three).
This detector detects all face features except for the
FOREHEAD feature.
Each detected feature is a PointSequence and can be used to render
the outline of the detected face.
1 2 3 4 5 6 7 8 9 10 11 12 13 | from facelift.capture import iter_stream_frames
from facelift.detect import PartialFaceDetector
from facelift.window import opencv_window
from facelift.render import draw_points
detector = PartialFaceDetector()
with opencv_window() as window:
for frame in iter_stream_frames():
for face in detector.iter_faces(frame):
for _, points in face.landmarks.items():
frame = draw_points(frame, points, color=(0, 255, 0))
window.render(frame)
|
Because this detector is discovering multiple points for a single face feature, we can use these points to actually build a pretty good representation of the face.
Full Face Detection
The FullFaceDetector is a third-party trained model that includes
detection of all FaceFeature features.
With the addition of the FOREHEAD feature, we can also
include the curvature and angle of the forehead.
1 2 3 4 5 6 7 8 9 10 11 12 13 | from facelift.capture import iter_stream_frames
from facelift.detect import FullFaceDetector
from facelift.window import opencv_window
from facelift.render import draw_points
detector = FullFaceDetector()
with opencv_window() as window:
for frame in iter_stream_frames():
for face in detector.iter_faces(frame):
for _, points in face.landmarks.items():
frame = draw_points(frame, points, color=(0, 255, 0))
window.render(frame)
|
This model is not as heavily trained as the PartialFaceDetector
so you may see some inconsistencies between the two detectors.
Regardless, with the inclusion of the FOREHEAD feature, you
get another dimension to work with that may be valuable for your use case.
Recognizing Faces
Recognition is performed by producing an Encoding for a detected face.
This encoding is just an array of dimensions that should be pretty unique for that
person’s face.
The encoding itself is produced by yet another pre-trained model produced by dlib.
This model is a ResNet model trained for producing identifiers for images of faces.
There are other trained models for producing identifiers for detected faces, however we
are only bundling the one produced and used by dlib.
Encoding Faces
Similar to how we handle face detection, we also provide a
BasicFaceEncoder from the encode module.
This encoder provides a method get_encoding() which
will take a given frame and a face detected within that frame to produce an
Encoding for the face.

Encode Flow
You can quickly get a face’s encoding from a script similar to the following:
1 2 3 4 5 6 7 8 9 10 11 | from pathlib import Path
from facelift.encode import BasicFaceEncoder
from facelift.detect import BasicFaceDetector
from facelift.capture import iter_media_frames
detector = BasicFaceDetector()
encoder = BasicFaceEncoder()
frame = next(iter_media_frames(Path("~/my-profile-picture.jpeg")))
face = next(detector.iter_faces(frame))
face_encoding = encoder.get_encoding(frame, face)
|
You will note that the name BasicFaceEncoder is very similar to
BasicFaceDetector.
This is to hopefully encourage developer’s intuition to use these two classes together
when performing face recognition.
Important
Face recognition with the BasicFaceEncoder will not work from
faces detected using the FullFaceDetector.
Although you can use faces detected from both the
BasicFaceDetector and PartialFaceDetector to get
encodings from this BasicFaceEncoder,
you should always prefer using lighter weight detector to avoid slowdown.
This module does not provide any kind of features for storing these produced encodings; that is completely up to the implementation you are building. You will need to find a way to store the produced encodings associated to an identifier (such as the persons name). For example, you could really simply store the encoding directly associated with the person’s name by using a dictionary such as the following:
1 2 3 4 | face_encoding = encoder.get_encoding(frame, face)
face_storage = {
"Stephen Bunn": [face_encoding]
}
|
Remember that each encoding is an instance of a numpy.ndarray which isn’t
immediately JSON serializable.
However, they can be converted to more common types or can be stored using pickle
or something more advanced.
Scoring Encodings
We haven’t yet actually performed any recognition yet.
But now that we have some registered encodings, we can start taking newly detected faces
and score them against our known face encodings to get a good idea whose face we are
detecting.
This scoring is provided by the score_encoding() method
which takes an unknown face encoding and a list of known faces for a single person
to see how similar they are.
The closer the score is to 0.0, the more likely that face encoding is the same as
those described in the list of known encodings.
1 2 | known_encodings = [...]
score = encoder.score_encoding(face_encoding, known_encodings)
|
Note that known_encodings takes a list of encodings rather than a single encoding.
This list of encodings should always be encodings of the same person.
If you start passing in various encodings from different people, the produced score
won’t make any sense.

Score Flow
It’s probably easier to show what some very basic face recognition looks like. Below is an example of some stored face encodings, a few of myself and a few of Terry Crews. The following script will iterate over the stored face encodings and determine the best fit for each detected face my webcam stream.
1 2 3 4 5 6 7 8 9 10 11 12 13 14 15 16 17 18 19 20 21 22 23 24 25 26 27 28 29 30 31 32 33 34 35 36 37 38 39 40 41 42 43 44 45 46 47 48 49 50 51 52 53 54 | from facelift.capture import iter_stream_frames
from facelift.window import opencv_window
from facelift.draw import draw_text
from facelift.detect import BasicFaceDetector
from facelift.encode import BasicFaceEncoder
detector = BasicFaceDetector()
encoder = BasicFaceEncoder()
# known encodings for specific faces
# trimmed out the actual encodings to preserve some readability
face_storage = {
"Stephen Bunn": [...],
"Terry Crews": [...]
}
with opencv_window() as window:
for frame in iter_stream_frames():
for face in detector.iter_faces(frame):
face_encoding = encoder.get_encoding(frame, face)
# collect scores for our storage of known encodings
# this could be further optimized using multi-threading or better
# storage mechanisms
scores = []
for name, known_encodings in face_storage.items():
score = encoder.score_encoding(face_encoding, known_encodings)
scores.append((score, name))
# printing out score results for our known faces so you can see
# what kind of scores are being produced
print(
"\r" + ", ".join([
f"{name} ({score:1.2f})" for score, name in scores
]),
end="",
)
# get the best scored name for this face
best_name = min(scores, key=lambda x: x[0])[-1]
# draw the best name right above the face
frame = draw_text(
frame,
best_name,
*face.rectangle,
font_scale=0.5,
color=(255, 0, 0),
x_position=Position.CENTER,
y_position=Position.START,
allow_overflow=True,
)
window.render(frame)
|
You can see that when we are printing results in the terminal, the score for my name is
actually further from 0.0 than the score we get for Terry.
This is because I’m actually subtracting from 1.0 in this recording which is
something I forgot to remove and I’m too lazy to remake the recoding.
You can ignore the numbers being written to stdout in this case as they contradict
what you should be expecting from score_encoding().
And here is a run of the same script but with both me and a picture of Terry. You can see that my face tone is darker as I had to close some blinds to avoid screen glare off of my phone. That screen glare was causing some obvious issues with detecting Terry’s face.
Of course, you can optimize this a bit, but for the purposes of demonstration we left it as simple and readable as possible.
At this point you should have enough details to get started using some of the features available in this package. If you find anything that you think could be improved, you can interact with development in the Facelift GitHub repository.
🎉 Thanks for reading through these docs! 🎉